
Browse all guides
Create and publish protocols
Build a structured draft, add taxonomy and search metadata, then publish a reviewed version.
Video walkthrough
Create, review, and publish a protocol
Read video transcriptShow
- 01Open Protocols, choose New protocol, and give the draft a clear clinical title.
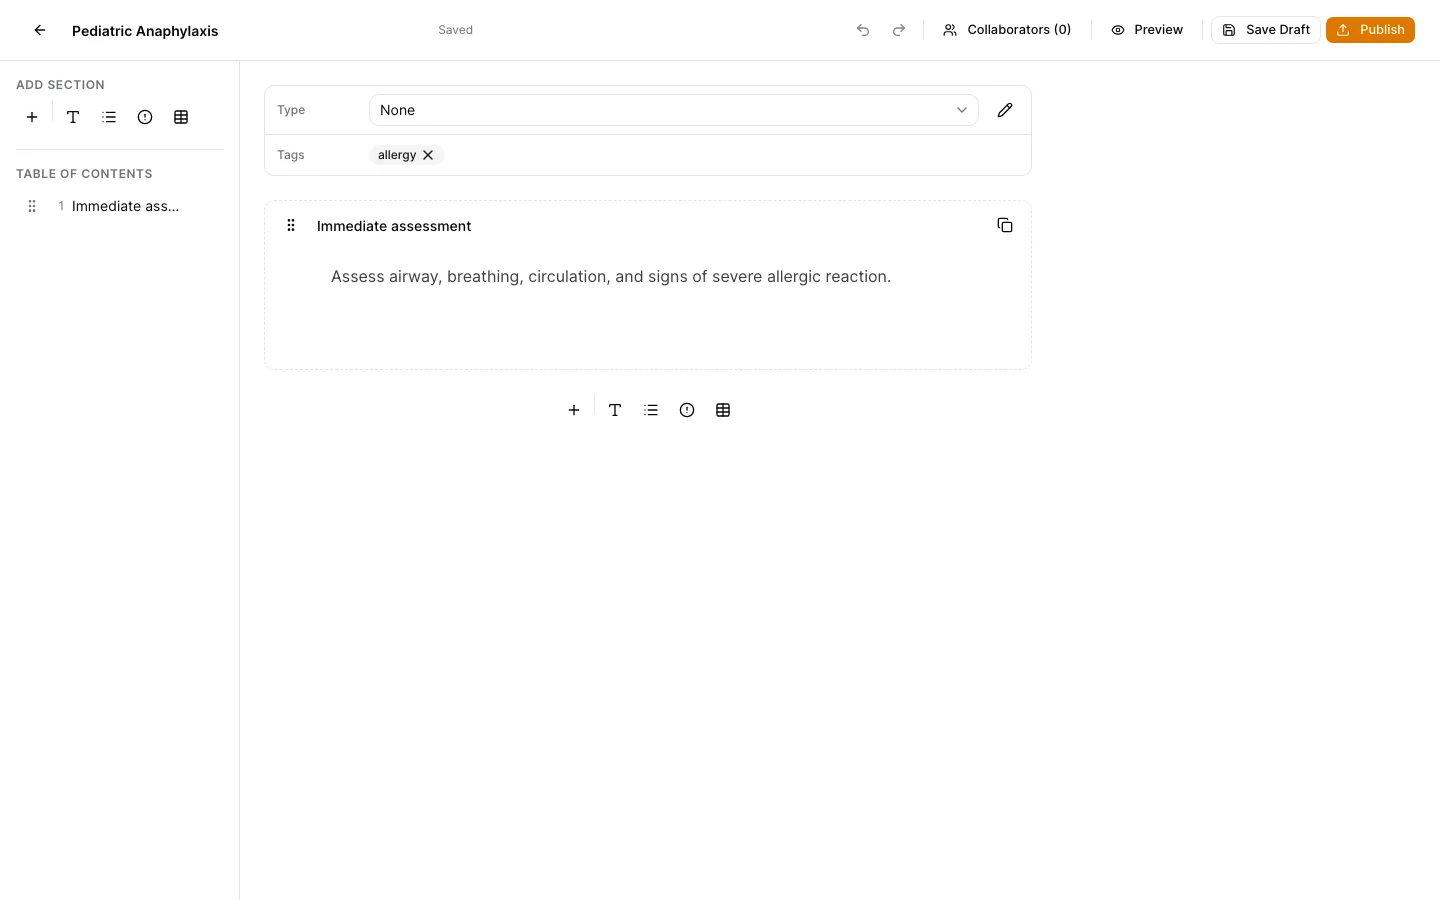
- 02Add a section title, enter the clinical content, and add search tags that responders are likely to use.
- 03Save the draft for later review or publish it to create an immutable numbered version.
- 04Open History from the published protocol to compare versions or restore an earlier version into a new draft.
Start a draft
From Clinical → Protocols, choose New protocol. Use a specific title that responders will recognize in search and during an incident.
Structure the clinical content
Create ordered sections and use the editor for paragraphs, lists, tables, and other supported blocks. Place critical cautions in the appropriate ribbon or section treatment.
Add type, subtypes, and search tags
Choose taxonomy that accurately describes the protocol and add concise search tags based on terms responders use in the field.
Review and publish
Save the draft while it is under review. When the content and metadata are approved, choose Publish to create the next immutable version.
Confirm the published result
Open the published document and confirm its version number and rendered sections. Future edits begin as a new draft and do not alter the prior version.
Keep support material free of protected information
These examples use synthetic records. Never capture or send patient information, passwords, API keys, access tokens, or real incident details when asking for help.