
Browse all guides
Dashboard and department onboarding
Understand role-based dashboard cards, complete setup, and compare department activity.
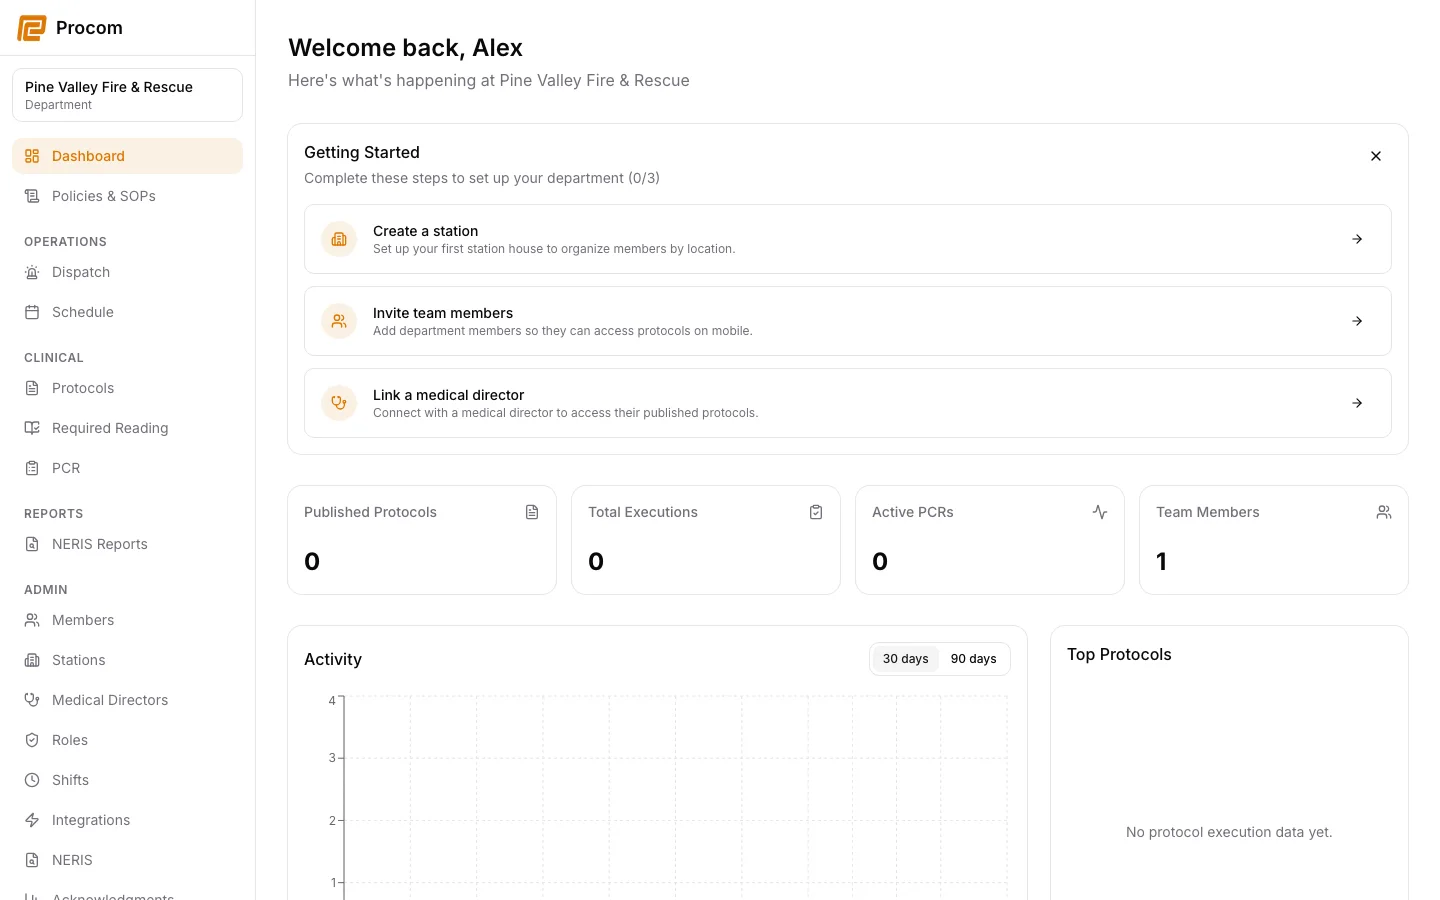
Read the dashboard for your role
The dashboard changes with your department capabilities. Responders receive a focused operational starting point; authorized administrators also see setup, activity, staffing, and completion information.
Complete the setup checklist
New department owners use the Getting Started checklist to create the first station, invite members, and connect a medical director. Dismiss it only when the department no longer needs the reminder.
Review current operations
Use the active dispatch and on-duty roster cards as summaries, then open the source workspace before making an operational decision.
Interpret activity and completion metrics
Choose the available reporting period and treat charts as navigation into trends, not as a replacement for the underlying audit or acknowledgment evidence.
Focus on one station
Use Station view to focus on an accessible station. All accessible stations combines your station access; department owners and admins can select any department station. Protocol counts describe the department catalog, while activity and member counts follow the selected view. Records without a station appear in the combined dispatch view.
Keep support material free of protected information
These examples use synthetic records. Never capture or send patient information, passwords, API keys, access tokens, or real incident details when asking for help.